Add: NYaqian Road No128 Yaqian Town Xiaoshan Hangzhou Zhe Jiang China.
Tel: 0086-0571-82602080
Fax: 0086-0571- 82758132
E-mail: [email protected]
Article Directory
The world of yarn crafting has evolved dramatically, with draw textured yarn techniques taking center stage. This innovative approach allows crafters to create dimensional, tactile fabrics that stand out from traditional smooth yarns. Whether you're knitting, crocheting, or weaving, understanding how to work with textured yarn can elevate your projects to professional levels.
Unlike conventional yarns, textured varieties offer unique characteristics that add depth and interest to finished pieces. The texturing process creates air pockets and irregular surfaces that result in better insulation, improved elasticity, and enhanced visual appeal. When you draw textured yarn through your fingers, you'll immediately notice the difference in thickness variations and springiness compared to standard yarn.
Working with bulky textured yarn requires specific techniques to showcase its unique properties. The key is to use larger needles (typically 2-3 sizes larger than recommended for the yarn weight) to prevent stiff fabric. Unlike smooth yarns where tension must be perfectly even, textured yarn forgives minor inconsistencies, making it ideal for beginners. Here's a comparison of needle sizes for different projects:
| Project Type | Recommended Needle Size | Stitches Per Inch |
|---|---|---|
| Scarves | US 11-13 | 3-4 |
| Hats | US 10-11 | 4-5 |
| Blankets | US 15-17 | 2-3 |
When how to knit with bulky textured yarn, remember that the texture will naturally create air pockets that provide warmth without excessive weight. This makes it perfect for winter accessories that need to be cozy but not cumbersome.
Choosing the right crochet stitches can dramatically affect how your textured yarn performs. While basic stitches work, certain patterns truly make the texture pop. The alpine stitch, for instance, creates wonderful peaks and valleys that interact beautifully with the yarn's natural irregularities. Compared to smooth yarn where complex stitches might get lost, textured yarn maintains definition even in intricate patterns.
For those exploring best crochet stitches for textured yarn, consider these top performers:
Understanding when to use textured versus smooth yarn can make or break a project. While smooth yarn shows off intricate stitch patterns and colorwork beautifully, textured yarn adds visual interest even with simple constructions. The choice often comes down to the intended effect and functionality.
Key differences between draw textured yarn vs smooth yarn include:
| Characteristic | Textured Yarn | Smooth Yarn |
|---|---|---|
| Stitch Definition | Moderate | High |
| Drape | Structured | Fluid |
| Warmth | Superior insulation | Moderate |
| Ease of Use | Forgiving of tension issues | Requires even tension |
Weavers have discovered that textured yarn opens new possibilities for creating tactile wall hangings and distinctive fabrics. When planning textured yarn weaving patterns, consider combining different textures in the same piece for maximum impact. A popular approach is to use smooth warp threads with textured weft yarns, allowing the texture to stand out against a stable background.
Exceptional weaving techniques for textured yarn include:
Customizing your textured yarn through dyeing requires special considerations. The texture affects how dye penetrates and how colors appear in the finished product. When dyeing pre-textured yarn, remember that the raised areas may take dye differently than the recessed portions, creating natural highlights and lowlights.
Essential tips for successful dyeing include:
Proper maintenance ensures your textured yarn projects retain their beauty. Unlike smooth yarn items that can often be machine washed, most textured yarn creations require gentle hand washing in lukewarm water with mild detergent. The airy structure means they'll take longer to dry - always lay flat rather than hanging to prevent stretching.
Storing textured yarn items requires special attention to preserve their dimensional qualities. Never fold heavily textured pieces, as this can create permanent creases in the raised areas. Instead, roll blankets and scarves, and stuff hats with acid-free tissue to maintain shape. For unused yarn, keep in sealed containers to prevent dust accumulation in the textured surfaces.
Even with proper care, textured yarn projects may develop specific issues. Pills can form on high-friction areas, but unlike with smooth yarn where you might shave them off, with textured yarn it's often better to carefully clip individual pills to avoid damaging the surrounding texture. For snags, use a crochet hook to gently redistribute the pulled fiber among nearby texture elements rather than trying to make it perfectly smooth again.
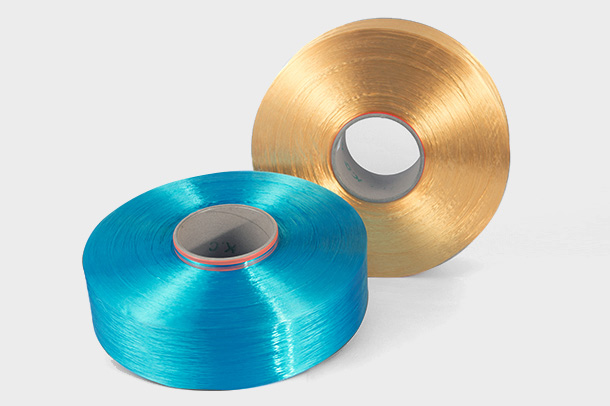
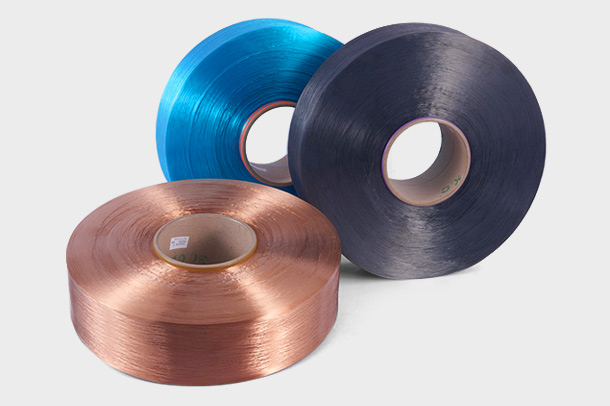
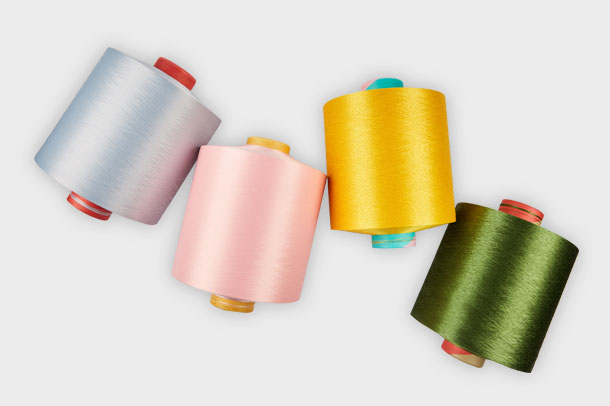
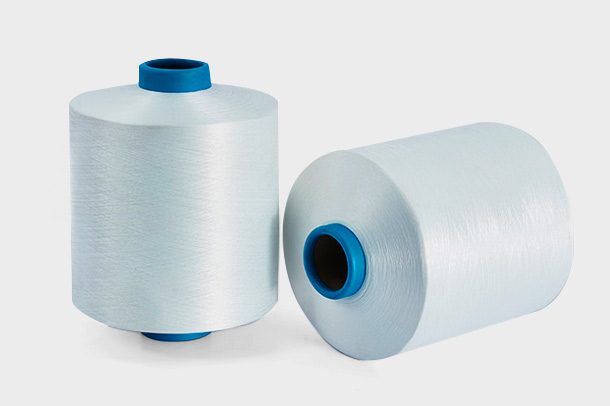
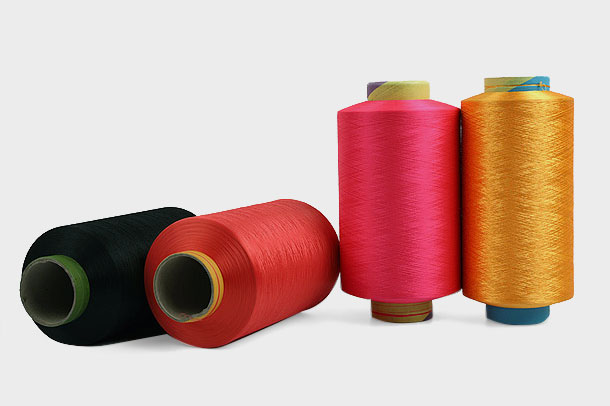
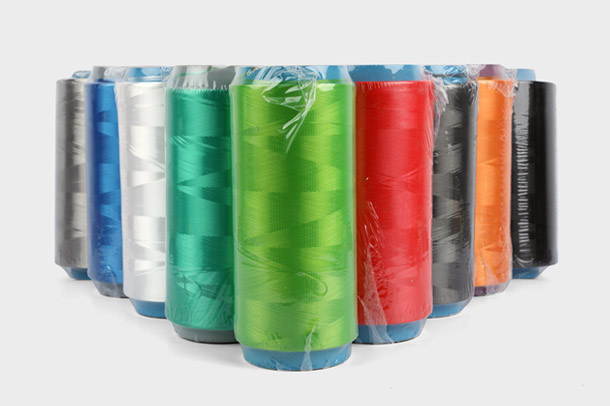
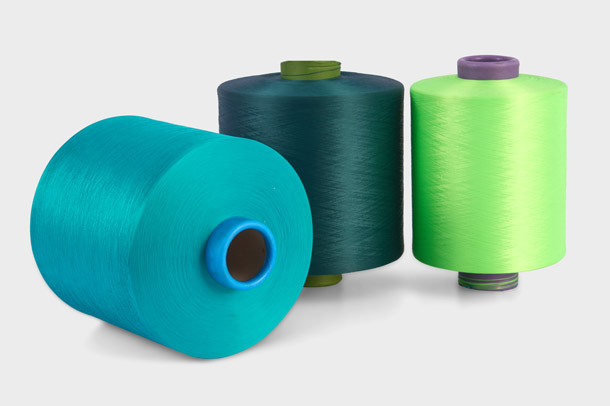
Zhejiang Hengyuan Chemical Fiber Group Co.,Ltd. is a professional China polyester filament yarns manufacturers and polyester color yarn suppliers, Established in 2006 ,located in YaQianTown Xiaoshan Hangzhou – One of the Center of polyester yarn Industry in China.

Products
Contact info
Copyright © Zhejiang Hengyuan Chemical Fiber Group Co.,Ltd. All rights reserved